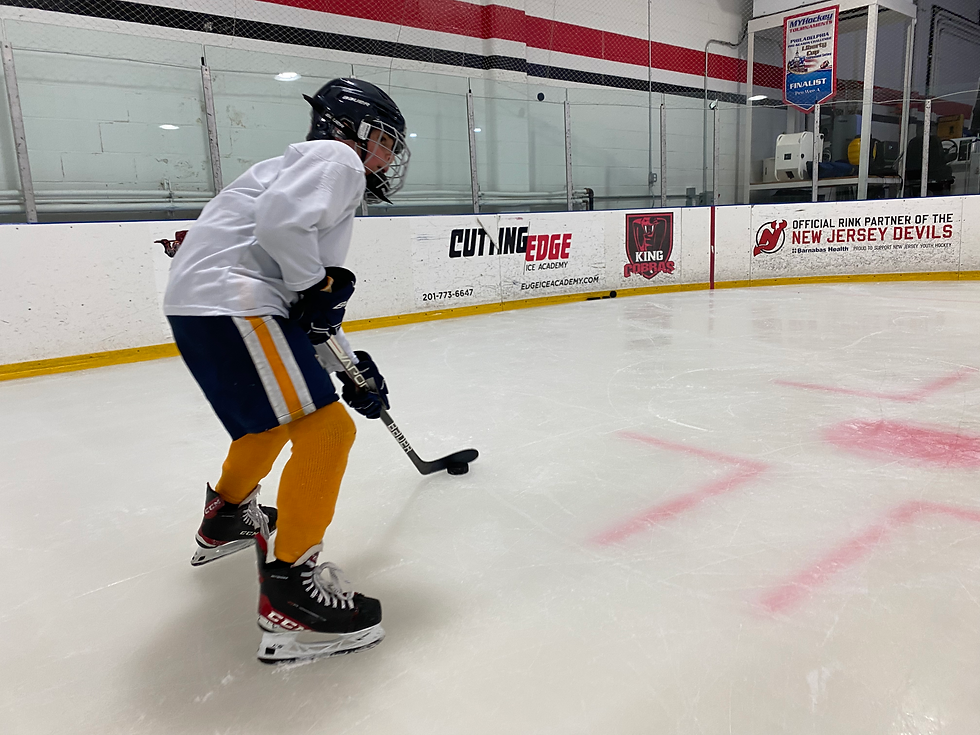
Why Hockey Players Should Practice Stopping on Both Sides
Practicing hockey stops in both directions helps players arrive under control, stay involved when the puck changes direction and restart without first turning toward a favorite side. The goal is a dependable stop facing either way, followed by a useful next movement.
A player can look quick in a straight line yet lose time near a loose puck because every stop has to finish the same way. Working on the less comfortable direction gives that player another option when space gets tight.

What Does Stopping on Both Sides Mean?
Here, “both sides” means being able to rotate into a two-foot hockey stop facing either direction. It does not mean stopping on the left foot alone and then the right foot alone. Those are separate skills and progressions.
For example, skate toward a line and stop facing one side of the rink. On the next repetition, approach the same line from the same starting point and finish facing the opposite side. Both skates take part in each stop.
That change can feel surprisingly different. The player has to organize the feet and balance in a less familiar way, even though the task appears to be a mirror image.
Why a Favorite Stopping Side Can Limit a Player
Arriving at a Loose Puck
Imagine two players reaching a puck near the boards. A player who can brake either way has more choice about where to finish and how to approach the puck. A player who always turns the same way may skate an extra arc or arrive with the puck behind the body.
Staying With a Changing Play
A puck can rebound or change direction before the skater arrives. The useful skill is adjusting speed and balance while keeping track of it. Needing an extra turn toward the comfortable side can make that adjustment slower.
Starting Again
A stop is often the middle of an action. After braking, a player may need to accelerate back toward the puck or move into open ice. Judge the repetition by the first few strides afterward as well as the stop itself.
Build the Less Comfortable Stop at Low Speed
Choose open ice with plenty of room to finish, following the session’s rules and a coach’s direction. Use an ice marking as the stopping target instead of aiming at the boards. Start slowly enough that the player can stay balanced and repeat the movement deliberately.
The basic teaching points are a flexed skating stance, eyes up, a controlled rotation into the stop and both blades participating in the braking action. Hockey Canada’s Coach 1 skating reference describes the two-foot stop and its edge use. A coach can help a player translate those fundamentals into the direction that feels awkward.
If the stop keeps turning into a curve, reduce the approach speed and ask for feedback on blade position and pressure. Adding speed before the player can control the movement usually makes it harder to identify what needs to change.
For a closer look at what the blades are doing, read our guide to inside and outside skate edges. Understanding the edges is useful; learning to use them under control still takes practice.
Three Practice Progressions
1. Same Approach, Opposite Finish
Pick a clear starting point and stopping line. Take a short, easy approach and alternate the direction the chest faces at the finish. Reset fully between repetitions. Keep the approach similar so the player can compare the two directions without speed becoming another variable.
Look for a controlled finish in the intended area, rather than the biggest spray of snow. If one direction is unreliable, give it a few extra low-speed repetitions with feedback, then return to alternating.
2. Stop, Settle and Restart
Once both directions are repeatable, add a brief balanced pause after each stop, then skate back toward the starting point. Later, shorten the pause. The player should be able to begin the next movement without stumbling or making an unnecessary turn.
Do not race this progression immediately. First make the stop and restart predictable; then increase the approach speed gradually with the coach.
3. Add a Puck, Then a Decision
Add a puck only when it does not pull the player’s attention away from basic control. Stop with the puck within reach, then move away with it. At a later stage, a coach can give an early cue about which way to face at the finish.
Keep the cue simple and early enough for a controlled response. If the player returns to the favorite side every time, simplify the task again. That is useful feedback about the progression, not a reason to demand faster repetitions.
Common Mistakes to Watch For
Counting repetitions without checking direction. A player can complete a whole drill while quietly favoring the same finish. Alternate deliberately.
Chasing a dramatic snow spray. Snow is not the objective. Finishing balanced, in the right place and ready to move is more useful.
Standing tall or leaning on the stick. Watch whether the player loses the skating stance or uses the stick to hold the body up. Have a coach check balance before adding speed.
Making every situation a stop. Sometimes a turn is the better way to keep moving. Developing both stopping directions adds options; it does not replace learning when to turn.
How Parents Can Recognize Progress
Compare a player with their earlier attempts. Can they finish facing either direction without a long setup? Can they keep the head up? Can they restart with control? Those observations are more helpful than comparing the amount of snow with another child.
If one direction remains difficult, a focused coaching session can identify whether the issue is the approach, balance, rotation or edge control. Parents do not need to diagnose it from the stands.
Practice Stopping With a Clear Next Step
For players in Elmwood Park and across North Jersey, stopping in both directions is a useful individual skating goal to bring to a coach. Cutting Edge Ice Academy’s PURE Skating program and general private hockey lessons are starting points for exploring skating instruction. Check the current schedule and program details to choose an appropriate session; offerings and availability can change.